It looks like I’m hitting another Cisco bug, this time at the installation of CUP Publisher node for a recently recovered CUCM cluster of two nodes. The installation from a bootable ISO goes smooth for the most part of the process, but then stalls with no error right after completing Security Configuration (which is a step right after Call Manager Connectivity Validation):

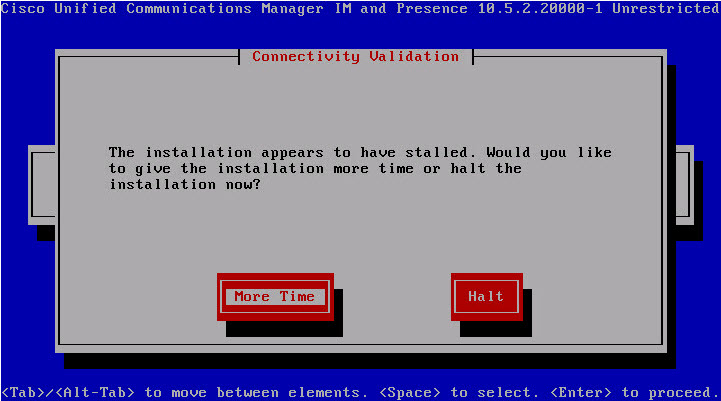
This bug is described in CSCuv74715. First, CUP installer will try to buy some time:

Then, after you you click “More Time” it will run the validation tests for about 20 minutes, ultimately resulting in the blank Error page as seen above.
Problem is, there is no version 10.5(2.230000.1) of CUCM or CUP available on CCO. So the solution is to obtain the latest available build of the CUP for the same version (10.5.2 in this case) from Cisco TAC (or create your own bootable iso from non-bootable ISO that can be downloaded from CCO) and retry the installation process.
UPDATE: I will save you some time: you do not need to download a new ISO if the only installer you have available is 10.5.2.20000-1. The error message that should have appeared as the 10.5.2.20000-1 installer stalls is as follows:

In my case, the NTP synchronization on CUCM Publisher had status of “unsynchronised, time server re-starting”. In this particular environment, the NTP reference servers were Domain Controllers (so Windows-based). Cisco UC VMs are quite finicky when it comes to synchronizing time with Windows-based NTP servers; the solution is to point the CUCM Publisher to a Linux-based NTP server.
In order to change the NTP server references for CUCM Pub, SSH to it and first confirm that NTP is operational by issuing “utils ntp status” command (just like it says in the error message). If the status is anything other than “synchronised to NTP server (xxx.xxx.xxx.xxx) at stratum x”, try to restart the NTP by issuing “utils ntp restart” command and checking the status again. If you do have a Linux-based NTP server, you can change the NTP server reference for Pub by doing the following:
- Add the new NTP server by issuing “utils ntp server add xxx.xxx.xxx.xxx” command
- Remove old NTP server(s) by issuing “utils ntp server detele” command and selecting the old NTP server(s) at the prompt.
- Confirm the NTP service restart when prompted.
- Check the NTP status again by issuing “utils ntp status” command.
Once the NTP status shows synchronized, proceed with CUP server installation.
Hope this helps someone.


